
2024 is still the year where you can find the coolest fashion trends, and it will be the ultimate moment to follow the trend. The cat eyeliner is one of the most popular makeup trends that you need to try. This kind of eyeliner has been a top choice for many women. But, we personally see many people fail to do their cat eyeliner, and it’s a shame.
That’s why we’ve talked with some professionals and come up with these no-fail tips for mastering cat eyeliner. With these, you’ll be able to use your cat eyeliner flawlessly like a pro. In no time, you’ll slay 2024 with your cat eyeliner.
Start with Tightlining


The first step in achieving flawless feline flicks is tightlining. What’s that, you ask? Well, it’s like giving your lashes a secret boost by filling in those tiny gaps between them. To master this technique, grab a waterproof eyeliner pencil and gently glide it along the upper waterline of your eyes.
It may feel a little ticklish at first (cue some involuntary blinking), but trust me when I say it’s worth it. Tightlining not only adds depth and definition to your lashes but also creates an illusion of thicker and fuller fringe. Talk about instant eye-opening magic.
Apply Natural Eyeshadow
Now that I remember, there are some scenes where the girls in High School Musical do their eye makeup. While it is true that high school musical 3 rating is not a joke, that particular scene still leaves me speechless even to this day. It’s actually all about creating a soft and seamless transition from your lid to the crease, not being bold about it. So, first things first, choose a neutral shade that complements your skin tone. Whether it’s a warm brown or a soft taupe, find the hue that enhances your eyes without overpowering them.
Use a fluffy brush to sweep the color onto your entire lid, starting from the lash line and blending upwards towards the brow bone. Then, grab a slightly darker shade and apply it on your eye’s outer corner, extending it slightly into the crease. This adds depth and dimension to your look while still keeping it natural.


Choose the Right Texture and Perfect Shade
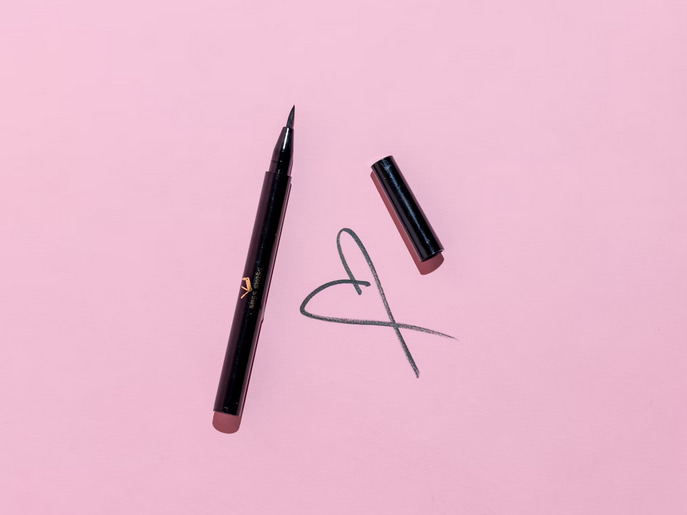
When it comes to the texture, let me ask you. Are you a gel gal or a liquid lovin’ lady? Gel liners offer more control for beginners and can be easily smudged for that sultry, smokey effect. On the other hand, liquid liners give you precise lines with intense pigmentation for a bold look that says, “I’m fierce!” Experiment with different textures to find what works best for your skills and desired outcome.
Now let’s talk shades, hun! The key here is contrast – go darker than your natural eye color to make those peepers pop. If you have blue eyes, opt for rich browns or deep blacks; green-eyed gals should try out navy blues or emerald greens, while brown-eyed beauties can rock any shade under the sun (lucky ducks!). Don’t be afraid to play around with metallics or colorful options either – life is too short to stick with basic black.
Get Creative With the Shape and Lift
That’s right. You can go for a classic winged look that extends outwards from the very outer corner of your eye, or you can experiment with more dramatic and angular shapes. But why stop at just shaping? Lift those peepers up by extending the line slightly upwards towards your temples. This little trick will instantly give your eyes a lifted appearance, making them appear more awake and youthful.
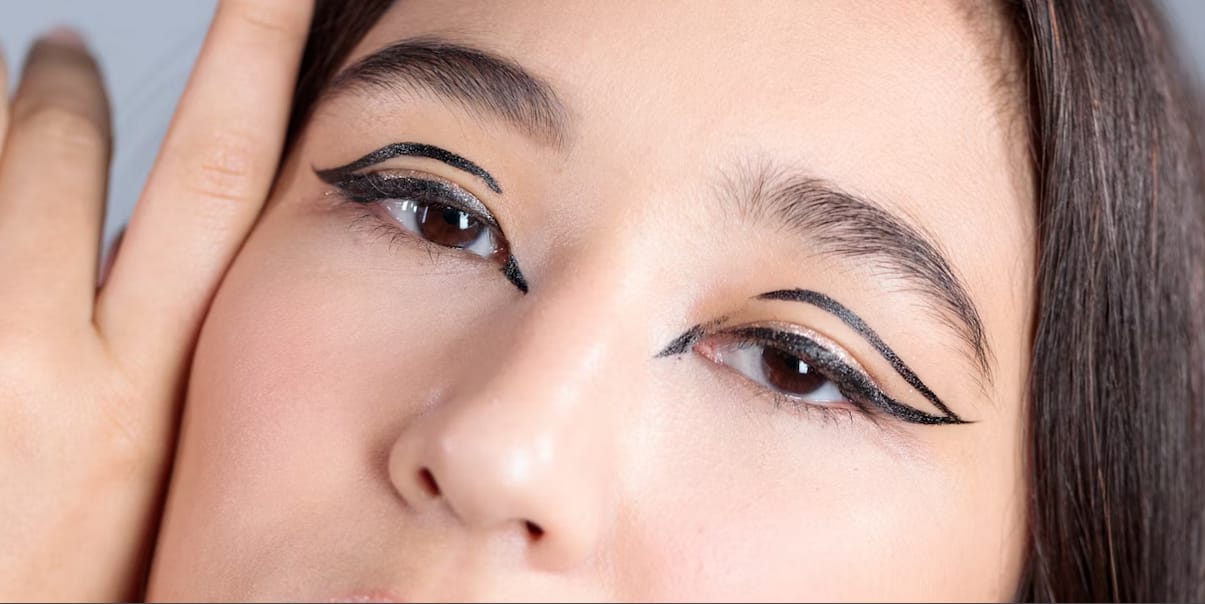

Master the Flick or Wing
Last but not least, hun, master that flick or wing. It’s that little upward sweep that adds an instant dose of drama and sass to your look. To get started, grab a liquid eyeliner with a fine tip for precise application. Try drawing a line along your upper lash line, bringing it up slightly past the very outer corner of your eye. Then, imagine an invisible line connecting the end of your lower lash line to the tip of your eyebrow. Use this as a guide to create the shape you want for your wing.
Next, try drawing a diagonal line from the outer corner towards that imaginary guideline. The length and angle will depend on how dramatic you want your wing to be – go bold or keep it subtle; it’s up to you! Once you have drawn this initial outline, fill in any gaps and smooth out any jagged edges with short strokes. And that’s it. You’ll nail it in no time.